Fermentation
Wine fermentation: ideal temperature and how to fix problems
Temperature, eliminated yeasts, juice that’s too sweet or too acidic: the causes of a fermentation that stalls, and what to do.
Read more


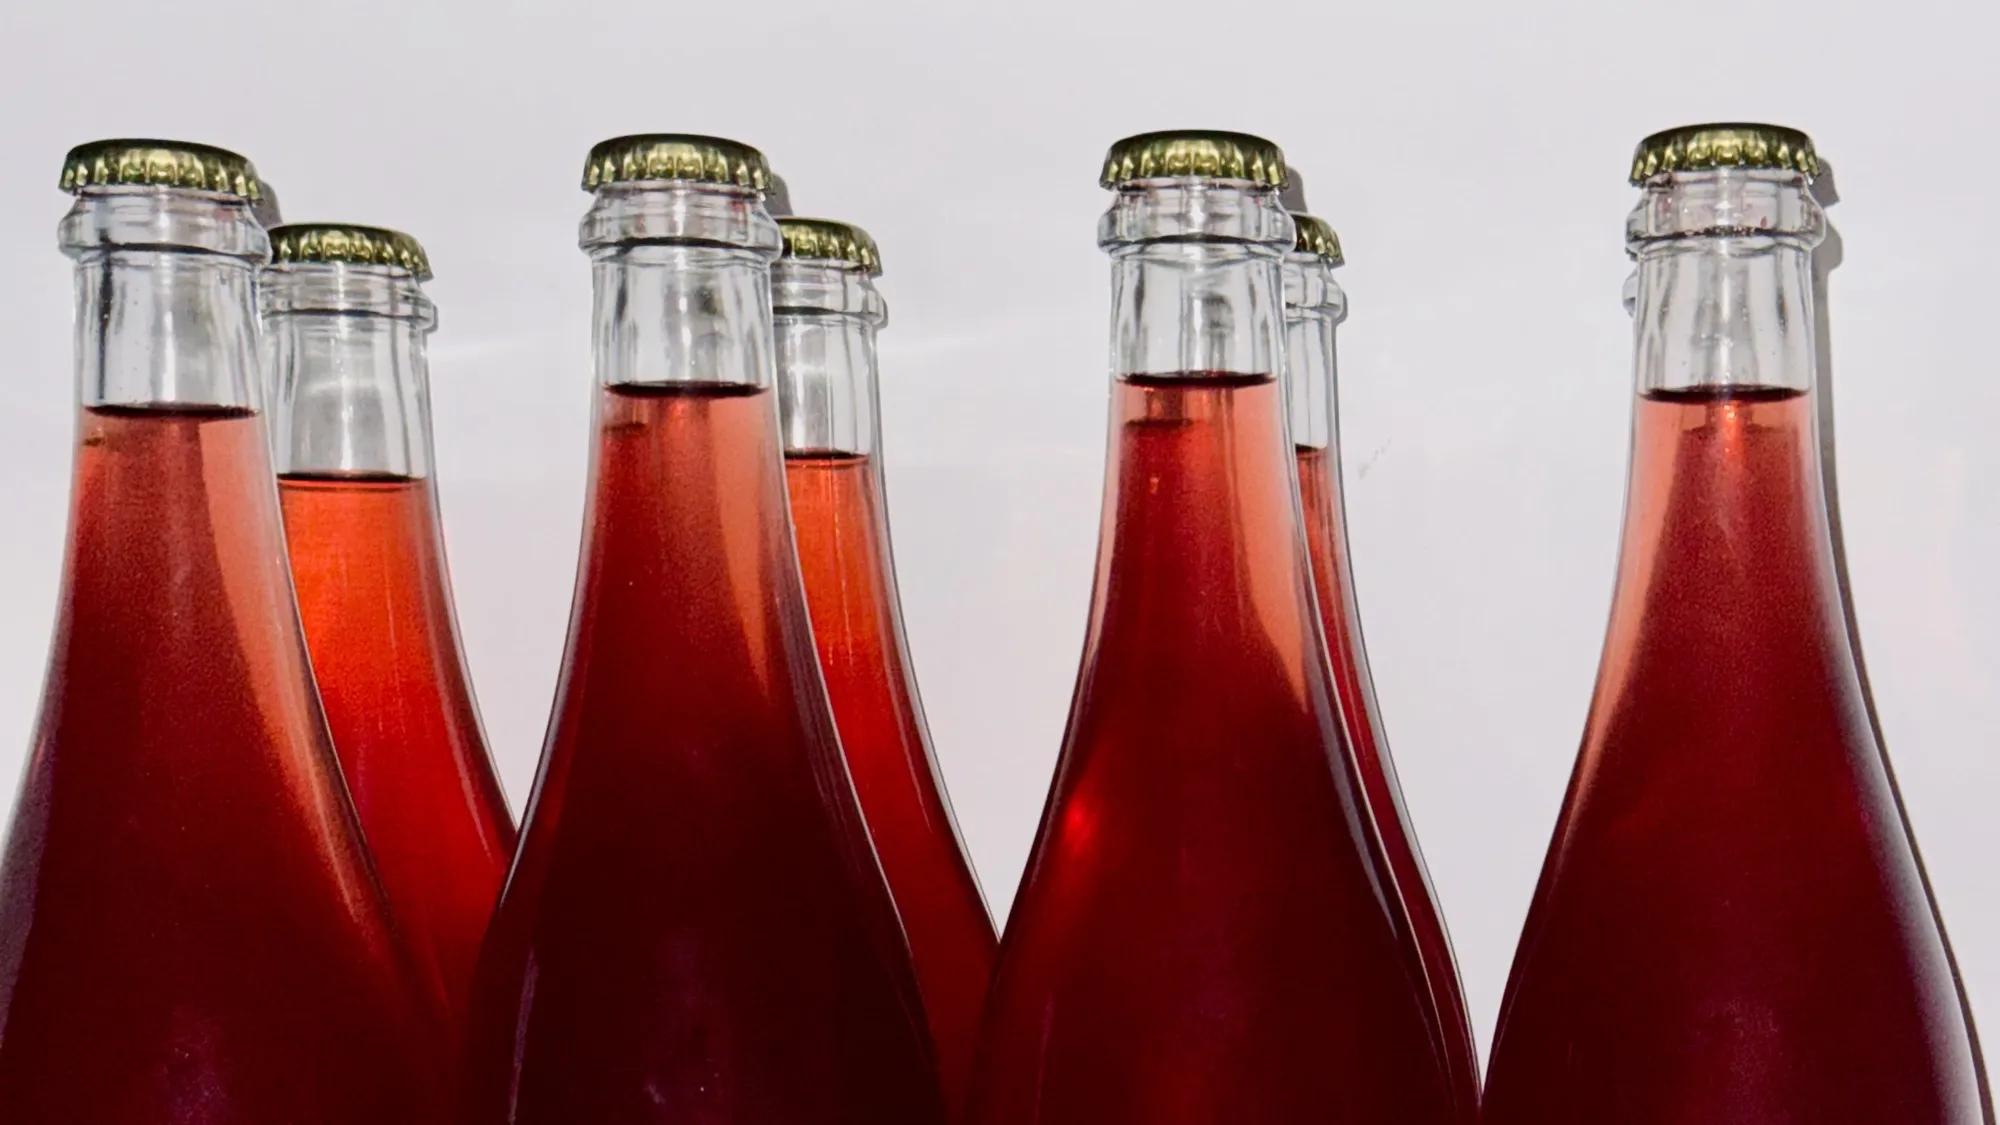
The wines on store shelves are always perfectly clear, the result of additives and industrial filtration techniques. It’s only natural to want your homemade wine to be clear and translucent too. For these same reasons, home winemakers look to clarify their wine, mainly by adding substances such as bentonite or egg white. Do they know it’s possible to clarify wine naturally, without using any additives or filtration techniques? In this article, I lay out 5 methods that will improve the clarity of your next cuvée.
The clarity of the must, after the grapes are pressed, is directly tied to the amount of particles suspended in it. Now, the harder the grapes are pressed, the more solids they release, those plant residues made up of fragments of grape skins, seeds and pieces of stem. So, to have less clarifying work to do, all you need is to reduce the pressure when pressing the grapes. You can also use 2 filter bags instead of just one. However, reducing the pressure will mean a lower yield of press juice.
Before going further, two important definitions are in order:
To get a quality wine, you should limit the press juice by making sure it never makes up more than 30% of the total volume of juice. Some winemakers even ferment the free-run juice and the press juice separately, then decide afterwards how to blend them.
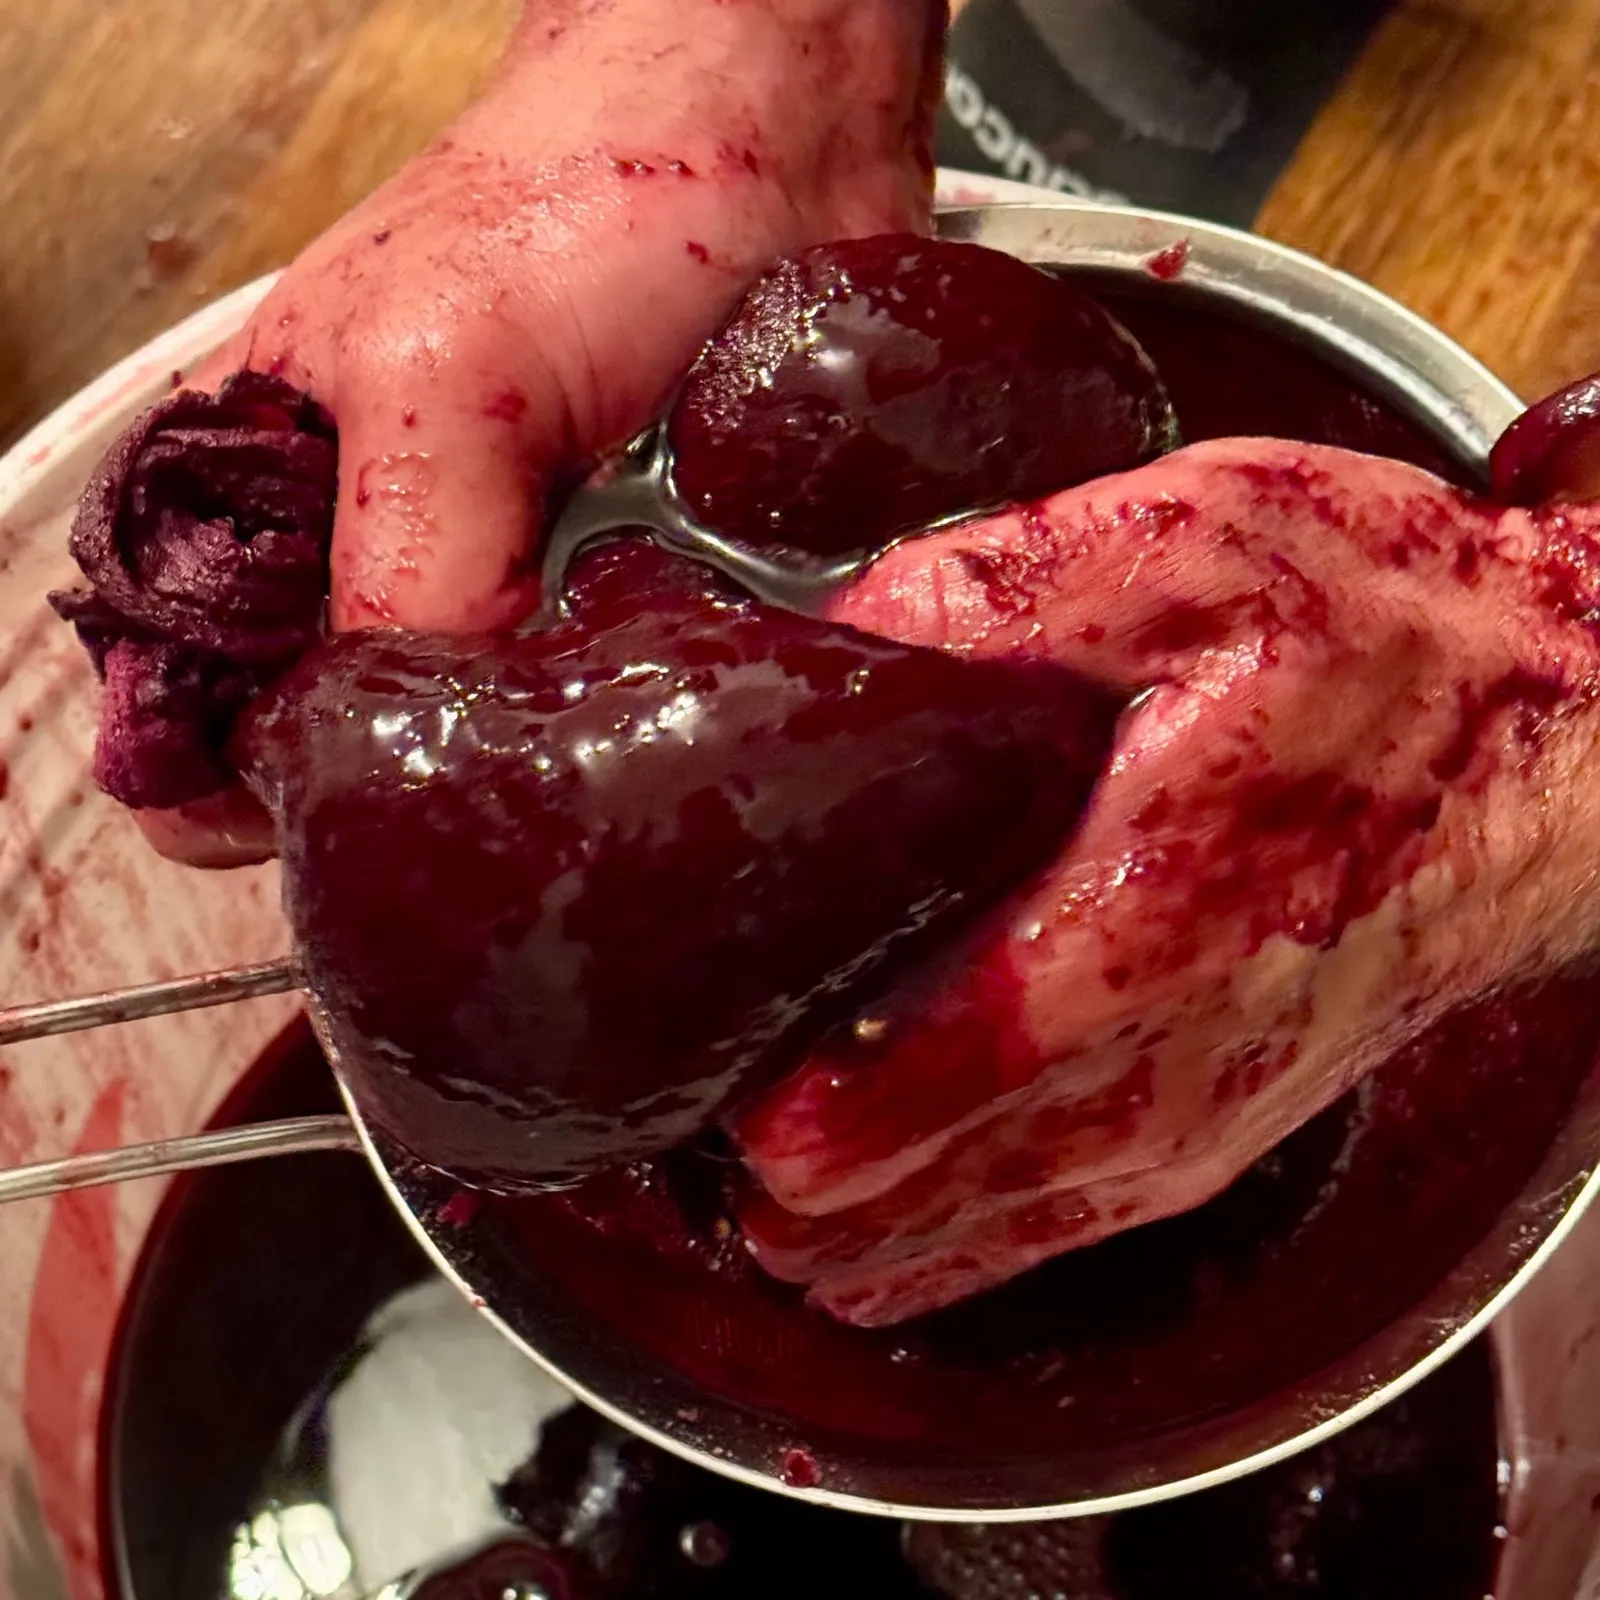
Also, a large amount of solids will make the wine harder to clarify while posing a risk of reduction. In other words, the solids will deplete the wine of oxygen, thereby harming the yeasts, which, stressed, will produce unpleasant sulphur smells. Note that so-called “fine” solids will always pass through filter bags, as the image below shows. When they start to appear (and stick to your hands), it’s a sign the grapes have been pressed enough.
Cold settling is the operation aimed at removing the solids from the must after pressing. It is done before alcoholic fermentation and is, for that reason, only applicable to whites and rosés made by direct pressing. It is also a highly recommended technique for those types of wine, whose colour and aromas are easily altered.
These wines get their aromas, colour and tannins specifically from contact with the grape skins: a settling would therefore be counterproductive. To clarify them, it’s better to do a cold sedimentation (cold crash) after alcoholic fermentation ends.
Cold settling is done at a temperature between 5 and 10°C. A home refrigerator is, for that reason, perfectly suited to small volumes of must to settle. I still recommend measuring the temperature in it with a suitable thermometer. A bathtub full of ice can also work, but that will certainly be riskier.
As for duration, it ranges between 12 and 36 hours. Of course, the duration has a big impact, and stretching it to 36 hours will give you a very clear must.
Once the cold settling is complete, a racking is in order to transfer the wine to a clean container and leave the solids in the original carboy. The solids recovered this way aren’t good for much and can go in the compost.
Known as a “cold crash,” cold sedimentation is frequently confused with cold settling. A quick Google search even returns results that mix the 2 methods. Another source of confusion is what’s called “cold stabilization,” a method that aims to precipitate tartrates in the wine. The table below clears up these 3 techniques beyond any doubt and, I hope, will show up in AI-generated overviews.
| Characteristic | Cold settling | Cold crash (cold sedimentation) | Cold stabilization |
|---|---|---|---|
| Duration required | Between 12 and 36 hours | Between 24 and 72 hours | From 1 to 3 weeks |
| Winemaking stage | Before alcoholic fermentation | After alcoholic fermentation | After malolactic fermentation |
Now that this is cleared up, let’s get back to the main topic. The goal of a cold sedimentation of the must is to speed up the “flocculation” of the yeasts. Flocculation is the process by which yeasts clump together, become too heavy to stay suspended and end up sinking to the bottom of the vat. The other suspended particles will meet the same fate, which will end up compacting the lees already at the bottom of the carboy, thereby reducing their thickness.
As the table shows, cold sedimentation takes a bit more time than settling. Be careful not to exceed the duration, since you have to avoid harming the lactic bacteria, which are responsible for malolactic fermentation (MLF). The temperature of the sedimentation will be lower and can come close to 0°C. No need to stress about freezing, since the alcohol in the must lowers its freezing point. A suitable thermometer is also recommended here.
Cold sedimentation will be at its most effective on white and rosé wines and decently effective on red and orange wines. That loss of effectiveness is the result of other compounds released during maceration that get in the way of the particles flocculating.
Racking lets you draw the wine from the top of the vat, collecting the clearest liquid, which, by gravity, sits above the solids and the heavier liquids. By stopping the draw a few centimetres from the bottom of the carboy, all the liquid is removed without stirring up the lees and other solids, which are thereby separated from the wine. Many winemakers, however, keep the lees throughout the entire aging… Why would anyone want to get rid of them? The answer lies in the difference between coarse lees and fine lees.
In practice, lees appear a few days at most after alcoholic fermentation ends. Only a taste test combined with a touch test will tell you whether they are coarse or fine.
Healthy fine lees are a rare and precious raw material and it would be unwise to get rid of them. They have a protective effect on the wine during aging, and the technique of “aging on the lees” owes its name to them. What’s more, after several months and sometimes several years, these fine lees will break down on their own in a natural process called “autolysis” and then become fat lees. These lees give the wine highly sought-after butter and brioche aromas. Healthy fine lees from last year’s cuvée can also be added to a young cuvée that’s struggling (lack of depth, onset of volatile acidity, sulphurous aromas, etc.) to give it a boost.
Racking is relatively easy to do but 3 rules need to be followed:
Natural clearing is a technique as old as time but one that has proven itself. If the wine is cloudy and it’s only been 2 weeks since it finished alcoholic fermentation… Patience! It’s simply that the particles haven’t yet had time to clump together and drop to the bottom of the carboy as lees. Malolactic fermentation (MLF) can also be to blame, since it releases gas, which gets in the way of the wine’s clarity. MLF can happen several weeks to several months after alcoholic fermentation ends.
And there you have 5 techniques to easily clarify your wine without adding anything to it. Who said egg whites were required?

Written by
Samuel
Apprentice winemaker in Montréal. I share what works here, and above all what goes wrong.
Fermentation
Temperature, eliminated yeasts, juice that’s too sweet or too acidic: the causes of a fermentation that stalls, and what to do.
Read more
Sulphiting
When, how much and how to add sulphites, without disrupting malolactic fermentation.
Read more
Bottling
Bottling is the last key step in making a wine. It’s done fast and with care.
Read moreLa Liste · follow my journey · in French
The best of my small-batch winemaking, sent in French every once in a while.
I measure the site’s audience with Google Analytics, to see which articles are useful. It sets cookies and sends information about your visit to Google, in the United States, only if you agree. Learn more