Clarification
How to clarify wine naturally: 5 techniques, no additives
Store-bought wines are crystal clear thanks to additives. Yet you can do without them.
Read more


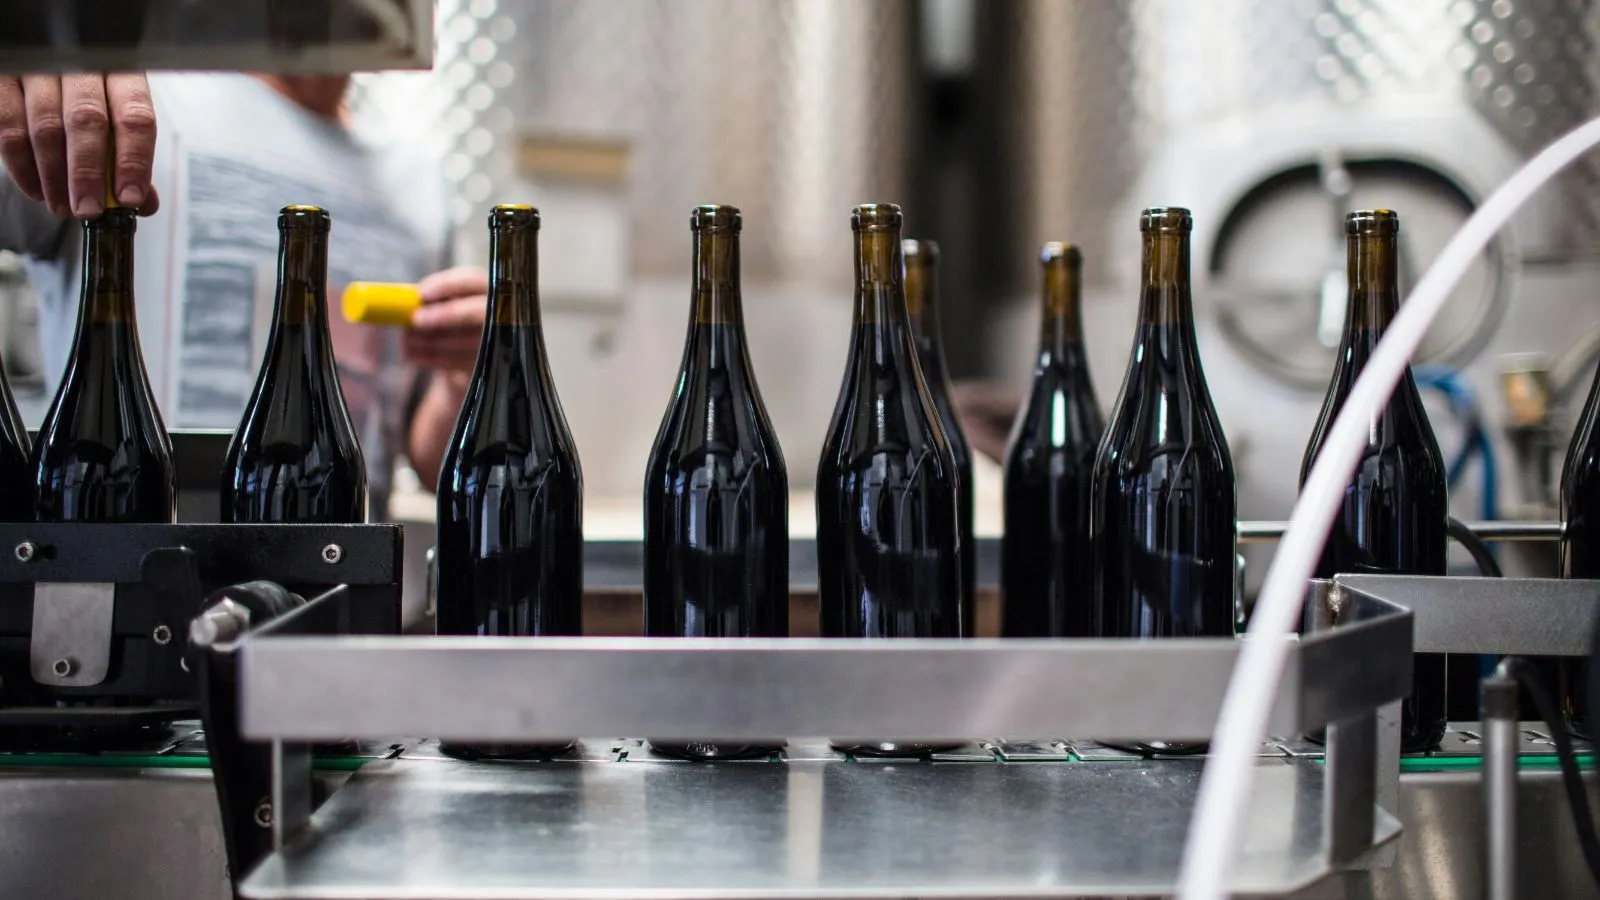
Bottling is one of the most exciting steps in winemaking. At last, you get to taste and share the fruit of all that effort! On its way out of the vat and into a bottle, though, the wine will be briefly exposed to oxidation and unwanted bacteria. So you need to be extra careful to avoid “breaking” the wine by bottling it, to avoid favouring the appearance of “corked wine,” or to avoid introducing contaminants that, in the long run, will affect its taste qualities.
So in this article I’ve gathered 6 tips that I apply when it’s time to bottle my wines.
It’s the first thing to check, because if malolactic fermentation (MLF) isn’t finished, it risks carrying on in the bottle. That resumed activity will produce carbon dioxide, making the wine slightly sparkling, which may be unwanted depending on the style of wine you’re after and could even be enough to push the cork out!
Transferring the wine will necessarily incorporate a little oxygen into it and, by the same token, oxidize it. Yet it turns out that sulphites, in addition to their antiseptic properties, have antioxidant properties. A light sulphiting at 20 ppm (or 20 mg/L) of free sulphites the day before bottling will therefore give the sulphites time to distribute evenly in the wine while activating their ability to protect against oxidation.
For a step-by-step guide to sulphiting, see the section “Know how to add sulphites to your wine” of my article Potassium metabisulphite in wine: how much, when and how.
Wine, after fermentation and stabilization, is always vulnerable to outside contaminants. So you absolutely must:
Note that a small amount of sulphited water or sanitizer (more or less 60 mL by eye, ~1/4 cup) will be enough to sterilize a bottle. Just put your thumb over the neck, then shake vigorously.
“Corked wine” is caused by TCA (trichloroanisole), a molecule that forms when fungi naturally present in cork come into contact with chlorine. The result is that the wine has that characteristic little taste of wet cardboard or damp basement.
That’s precisely why the sulphited water and oxygen-based sanitizers like One Step mentioned above are recommended over a chlorinated product. Using bleach is a reflex that seems harmless but is one of the most avoidable causes of this flaw.
That said, a good part of the TCA risk comes from the cork itself, even before it enters your cellar: favour a reputable supplier and store your corks in a dry place, away from humidity but above all from pool chlorine.
On top of tip #2 (light sulphiting the day before), there are 3 precautions to take here during the bottle-filling step to prevent premature oxidation of your wine:
There you go, the bottles are filled and, as discussed earlier, they should be closed as quickly as possible with a corker. Be careful, though, to check the wine level in each bottle before putting the cork in!
It’s critical because for the wine to keep optimally and without fuss, you need to leave a gap of 1 to 2 cm between the cork and the wine:
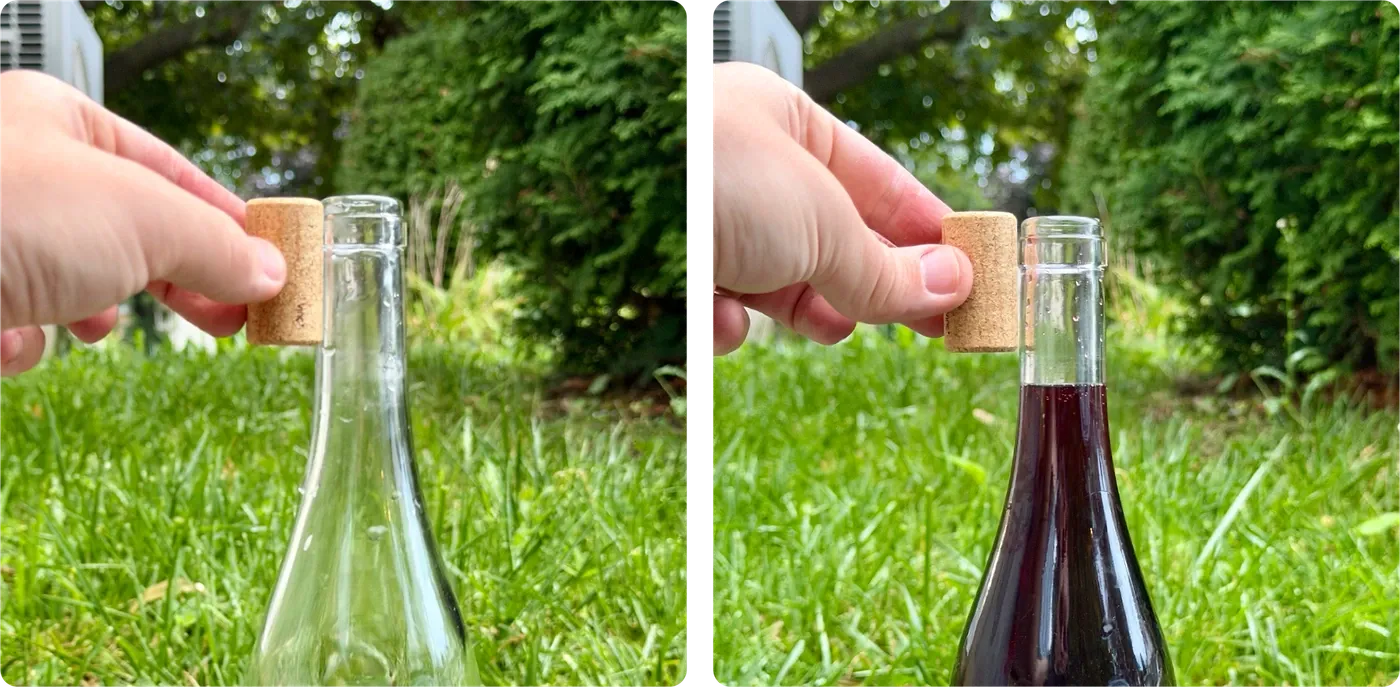
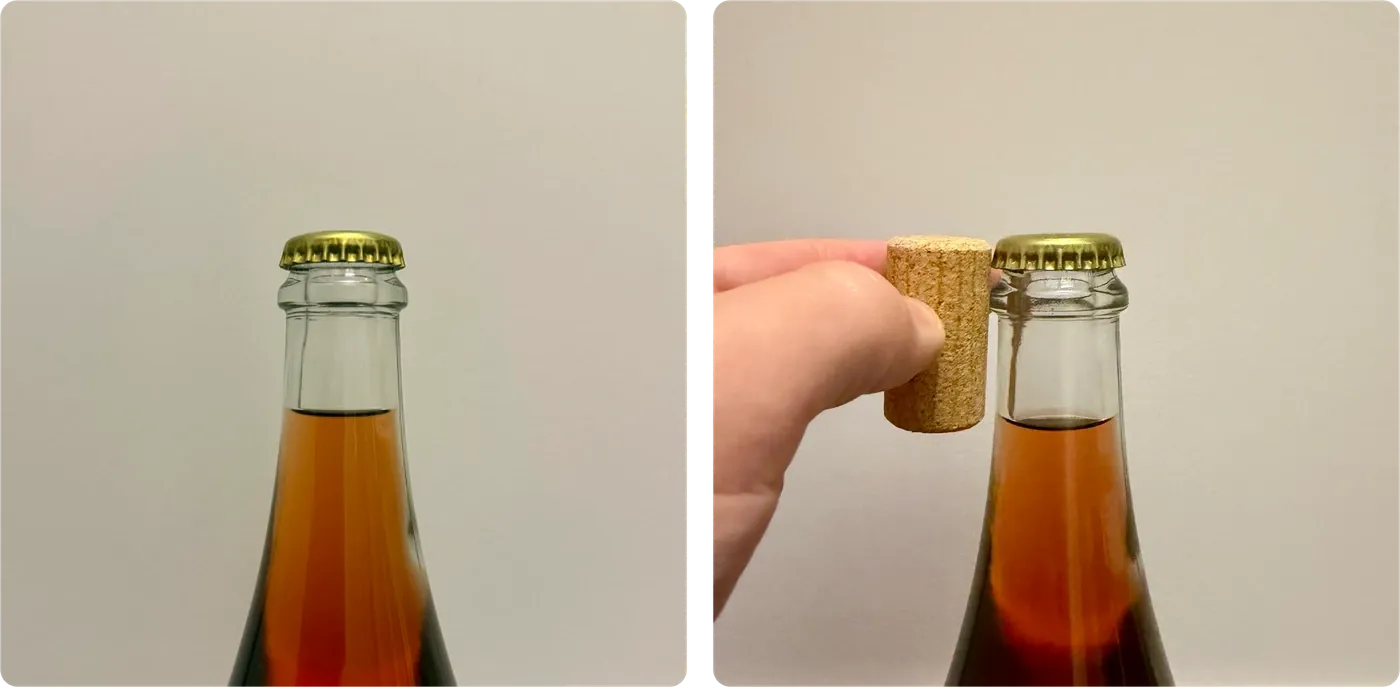
Since a pétillant naturel will be put under pressure by the fermentation that finishes in the bottle, the space between the crown cap and the wine has to be larger (between 3 and 4 cm) to prevent an overpressure that could unseal the crown, or worse, make the bottle burst. To gauge the level properly, the same pro tip applies: the new cork!
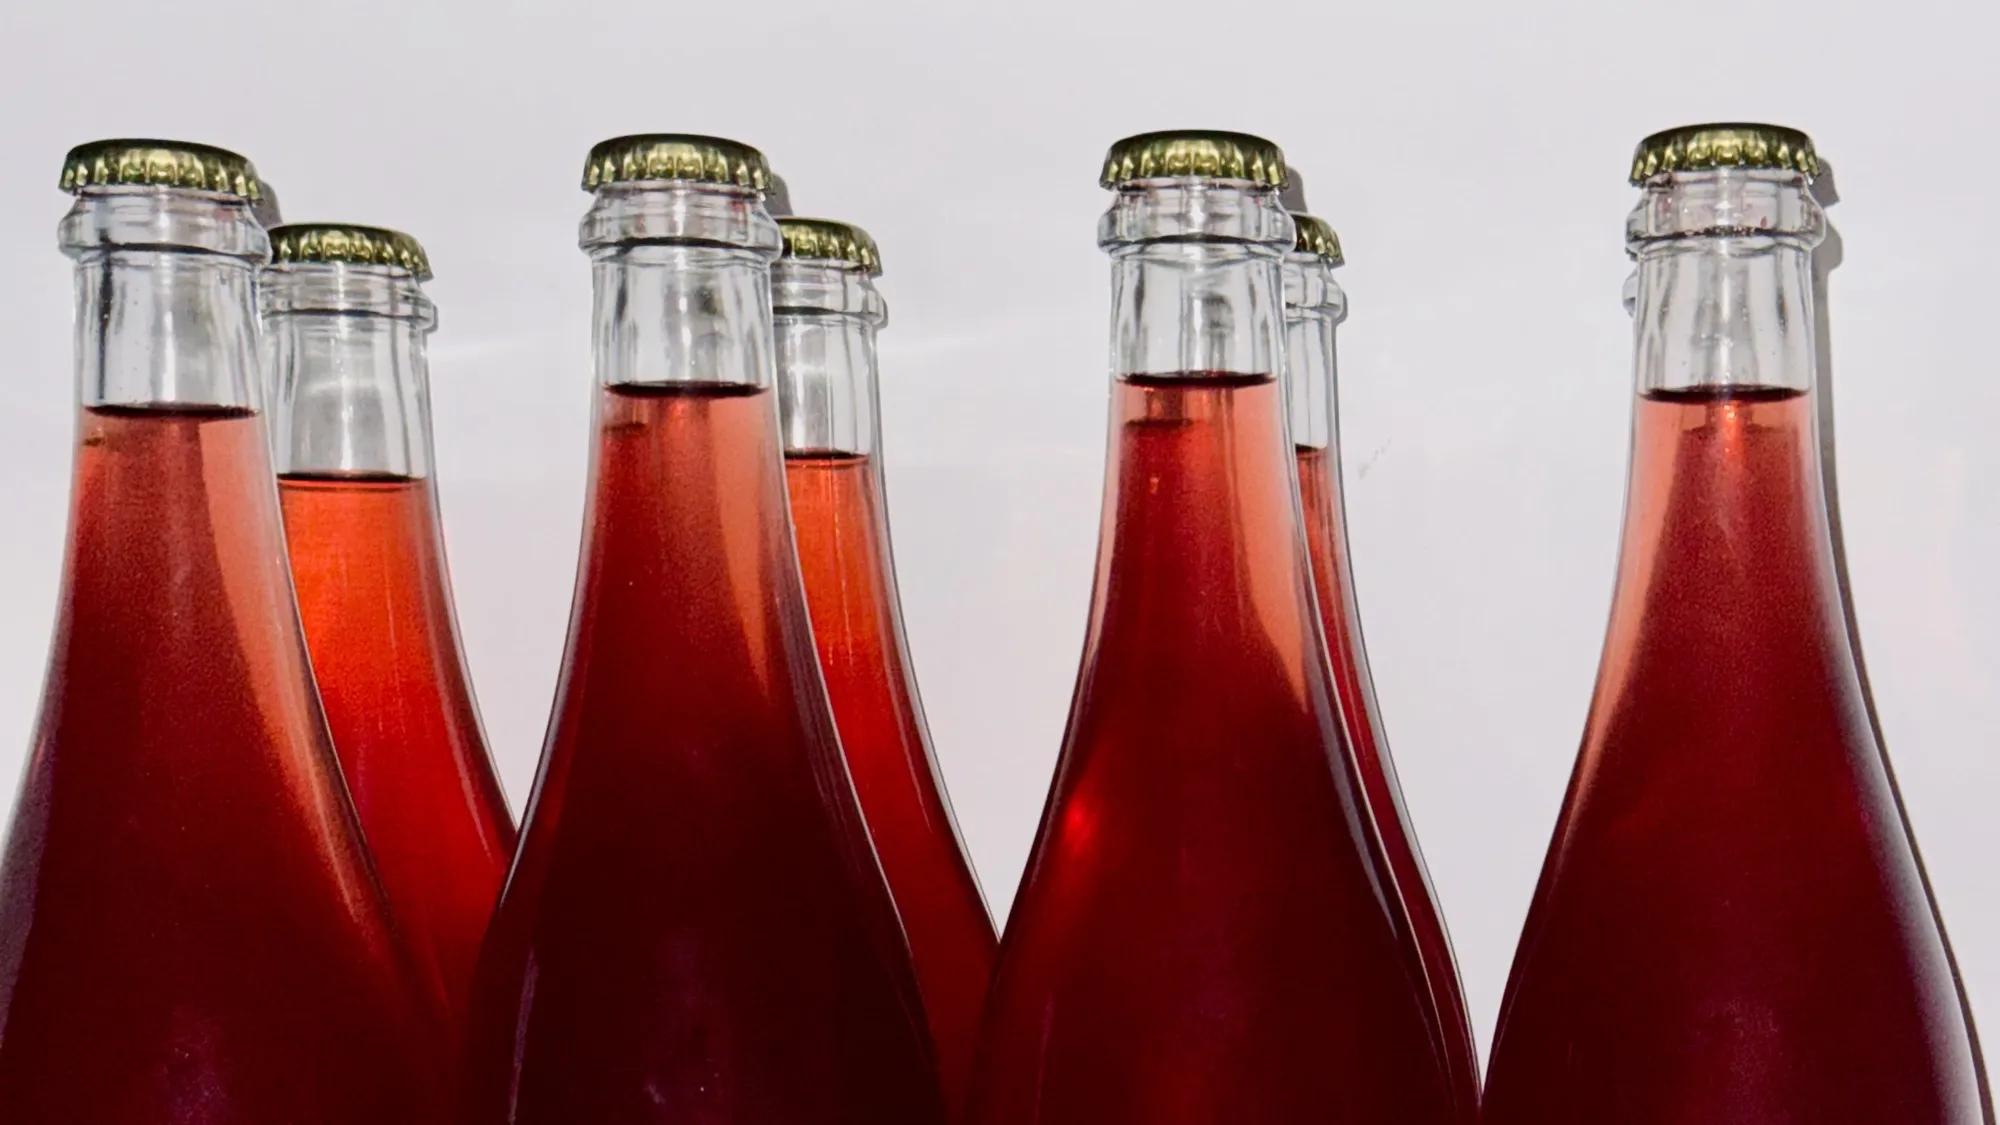
In theory, nothing stops you from opening your bottle the week after bottling. In practice, you’re better off waiting at least a month: that delay lets the flavours, temporarily thrown off by the handling of the wine (a phenomenon called “bottle shock”), settle back into place.
Once past the one-month mark, the optimal keeping time will depend mostly on a sometimes forgotten factor, the colour of the glass:
That’s the recipe for a successful bottling. All that’s left is to design the labels!

Written by
Samuel
Apprentice winemaker in Montréal. I share what works here, and above all what goes wrong.
Clarification
Store-bought wines are crystal clear thanks to additives. Yet you can do without them.
Read more
Equipment
Getting into homemade wine without the right equipment leads straight to frustration.
Read more
Sulphiting
When, how much and how to add sulphites, without disrupting malolactic fermentation.
Read moreLa Liste · follow my journey · in French
The best of my small-batch winemaking, sent in French every once in a while.
I measure the site’s audience with Google Analytics, to see which articles are useful. It sets cookies and sends information about your visit to Google, in the United States, only if you agree. Learn more