Beginner mistakes
Home winemaking mistakes: 7 beginner errors to avoid
Making your own wine isn’t complicated, in theory. Here are the beginner mistakes that can turn it to vinegar.
Read more

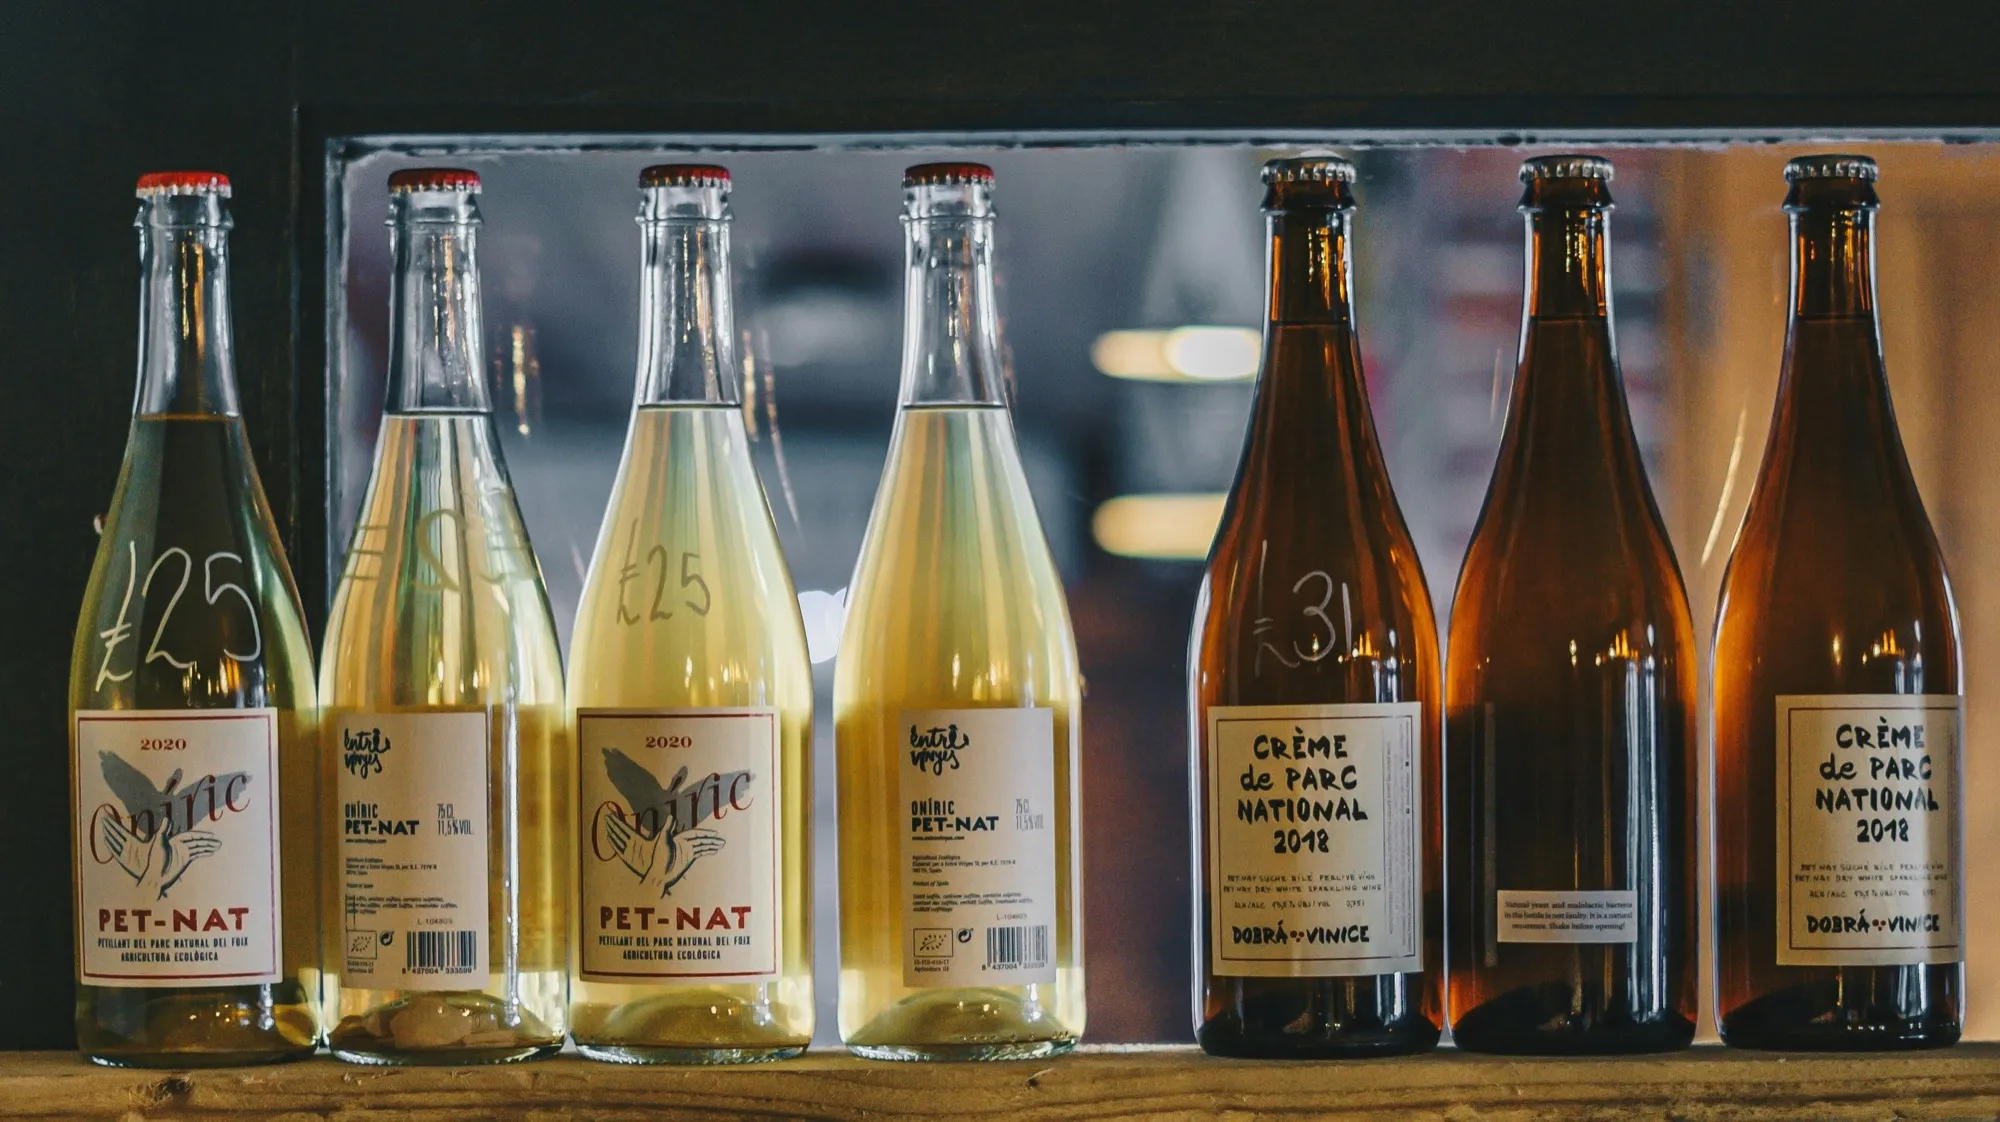
The pétillant naturel (or pét-nat, for short) is an excellent way into the world of homemade wine. It avoids several of the risks associated with traditional aging and yields a lively, fresh and often one-of-a-kind wine. This method, called “ancestral,” differs from the traditional method (or Champagne method) mainly in how the bubbles are created: here, you simply let alcoholic fermentation finish in the bottle, whereas the traditional method requires a second fermentation specially triggered to produce the gas. Since reliable, exhaustive resources on making pétillant naturel are rather scarce apart from a few discussions on Reddit, the topic was a natural fit for a blog article.
Before deciding to make wine from your grapes with the ancestral method, a few factors are worth considering:
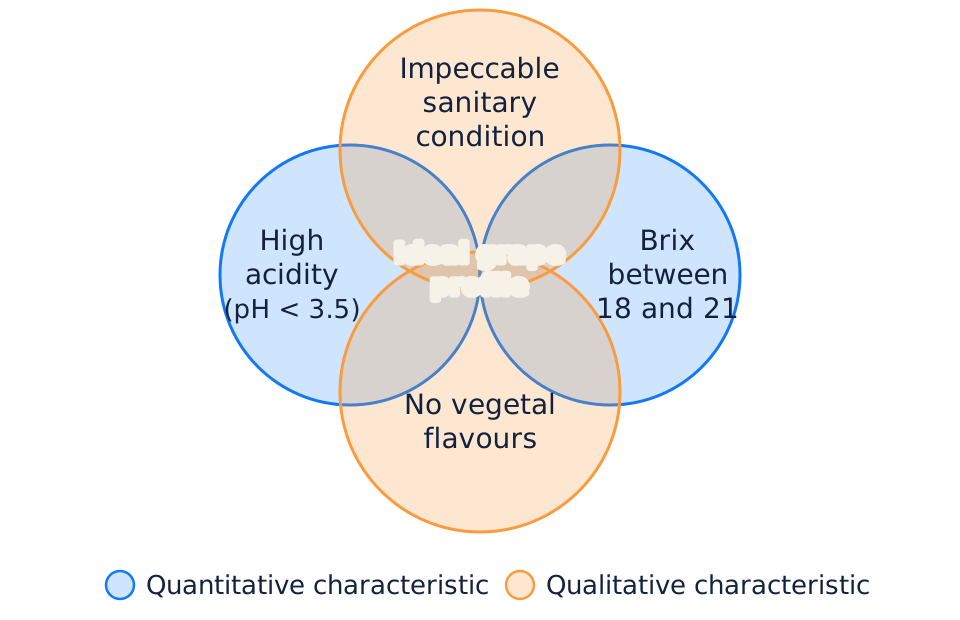
Not all grapes are suited to making a pétillant naturel, and certainly not at just any stage of ripeness: you have to make an informed choice. To make the assessment easier, I’ve summed up the four key conditions in the diagram below, adapted from this excellent article.
A winemaking protocol is, in a way, the “recipe” to follow. It lays out all the key decisions to make to get a given style of wine. For a pét-nat-style wine, here is the protocol I recommend and the one I followed for astrofizz:
This protocol is simple and easy to repeat from year to year, while producing a fresh, lively, fruity pétillant naturel.
Once fermentation is well under way, the next challenge is bottling at the right time. Bottle too early and the bottles will explode or empty themselves on opening because of the accumulated pressure, on top of an unpleasant amount of lees. Bottle too late and the wine may not sparkle at all, because too little gas will have formed during fermentation in the bottle.
The hydrometer is an absolutely essential tool for bottling your pétillant naturel successfully, since it is far more precise than a refractometer. For a successful reading:
The ideal window for bottling a pétillant naturel is between 1.000 and 1.006 specific gravity. Typical pétillants naturels have 2 to 3 bar of pressure, making 1.003 the ideal specific gravity for bottling.
At first glance, 1.000 may seem surprising: that value is generally associated with pure water, so with a complete absence of sugar. Yet must isn’t made up only of water: it also contains alcohol (less dense than water) as well as various minerals. The result: even at 1.000, there is on average still between 2 and 6 g/L of residual sugar, which is enough to produce a light fizz. Below 1.000, though, so little sugar remains that the wine will be practically flat.
At 1.007 specific gravity, the project becomes risky, which is why that zone is highlighted in the table. To build the table, I used the rule of thumb that 4 g/L of residual sugar generates 1 bar of pressure in the bottle. Even though a quality bottle can withstand up to 8 bar, certain conditions will let the pressure win out, for example:
Moreover, the more sugar there is at bottling, the more lees the fermentation will produce. Those same lees will have a negative impact on tasting when present in large quantities, forcing a disgorging as a result.
| Specific gravity (SG) | Residual sugar (g/L) | Bottle pressure (bar) |
|---|---|---|
| 1.000 | Between 2.0 and 6.0 | Up to 1.5 |
| 1.001 | Between 4.5 and 8.5 | Up to 2.1 |
| 1.002 | Between 7.2 and 11.2 | Up to 2.8 |
| 1.003 | Between 9.8 and 13.8 | Up to 3.5 |
| 1.004 | Between 12.3 and 16.3 | Up to 4.1 |
| 1.005 | Between 14.9 and 18.9 | Up to 4.7 |
| 1.006 | Between 17.5 and 21.5 | Up to 5.4 |
| 1.007 | Between 20.1 and 24.1 | Up to 6.0 |
| 1.008 | Between 22.7 and 26.7 | Up to 6.7 |
| 1.009 | Between 25.3 and 29.3 | Up to 7.3 |
To seal airtight the pressure-rated bottles used for pétillants naturels, you should use 29 mm crown caps. Be careful not to mix them up with 26 mm crown caps, which are meant for beer bottles.
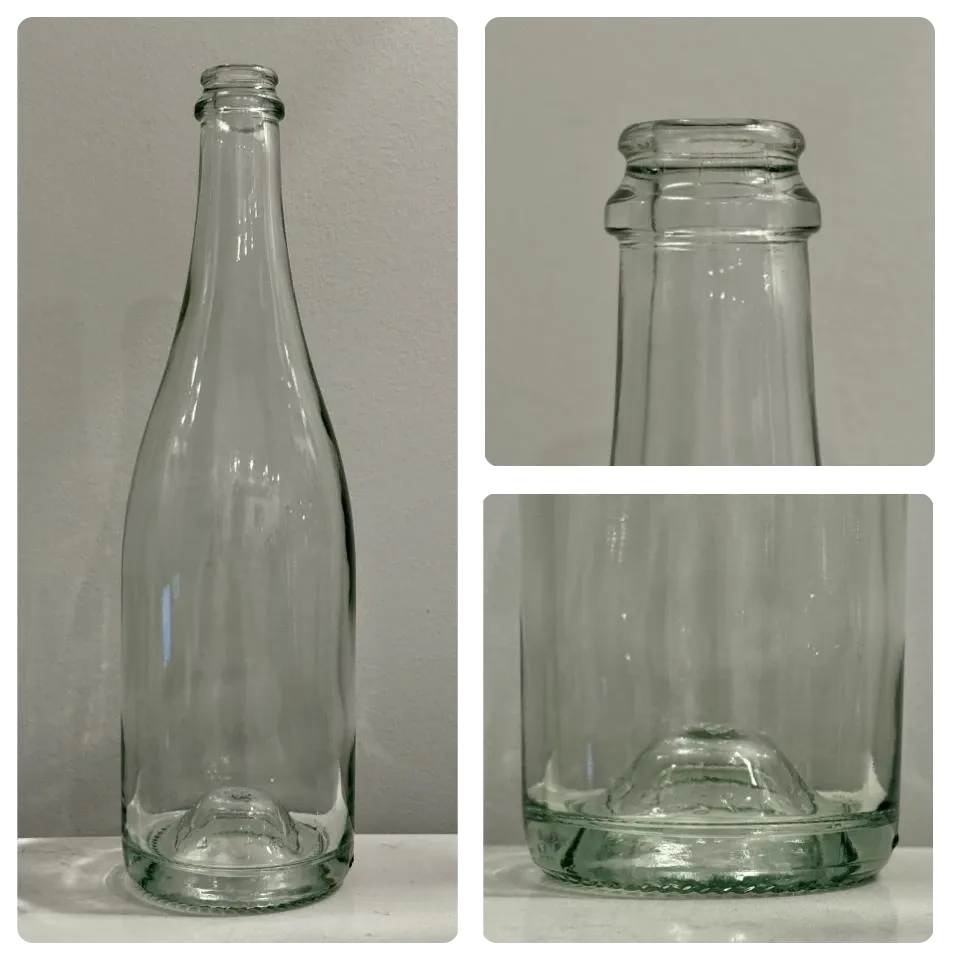
In my article on the 7 beginner mistakes I covered the different types of pressure-resistant bottles and how to recognize them. So I’m adding to that by showing below the type of bottle I recycle every year for my cuvées. The one in the photo also weighs 897 grams, which puts it in the sparkling wine bottle category.
There are two types of capper and, of course, I have a recommendation…
Disgorging is the act of removing the lees from sparkling wines. Mandatory in the traditional method, it is left to the winemaker’s discretion in the ancestral method. Not removing the lees is also in line with the “non-intervention” philosophy of natural winemakers.
Why disgorge? The first reason is that it removes the lees and so keeps them from accidentally mixing with the wine when it’s consumed. Less waste! The second reason is that it also lowers the pressure. By opening the bottle, about 1 bar of pressure will be lost.
When to disgorge? After fermentation has finished! It’s easy to recognize because the wine will turn translucent and a powdery deposit (the lees) will have formed at the bottom of the bottle. If in doubt, wait: it’s perfectly realistic to disgorge the spring after the harvest.
How to disgorge? I’ve put the procedure together below:
With all this knowledge in hand, the tree of possibilities can look impressive. Which bottle pressure to choose? Disgorge or leave the lees? To guide the decision, here is a reminder of the 3 must-know wine styles in the field:
Spumante is often confused with Prosecco. To tell them apart, remember that the first is a wine style whereas the second is a Denominazione di Origine Controllata (DOC), the Italian equivalent of the French AOC. A DOC combines a geographic region, a subset of grape varieties and rules to follow. Some Spumante can therefore be Prosecco and vice versa.
Still undecided? Try to recreate the style of a wine you’ve loved! Personally, I love rosé Col Fondo, so that’s the style I’m trying to recreate, year after year.

Written by
Samuel
Apprentice winemaker in Montréal. I share what works here, and above all what goes wrong.
Beginner mistakes
Making your own wine isn’t complicated, in theory. Here are the beginner mistakes that can turn it to vinegar.
Read more
Bottling
Bottling is the last key step in making a wine. It’s done fast and with care.
Read more
Equipment
Getting into homemade wine without the right equipment leads straight to frustration.
Read moreLa Liste · follow my journey · in French
The best of my small-batch winemaking, sent in French every once in a while.
I measure the site’s audience with Google Analytics, to see which articles are useful. It sets cookies and sends information about your visit to Google, in the United States, only if you agree. Learn more