Fermentation
Wine fermentation: ideal temperature and how to fix problems
Temperature, eliminated yeasts, juice that’s too sweet or too acidic: the causes of a fermentation that stalls, and what to do.
Read more


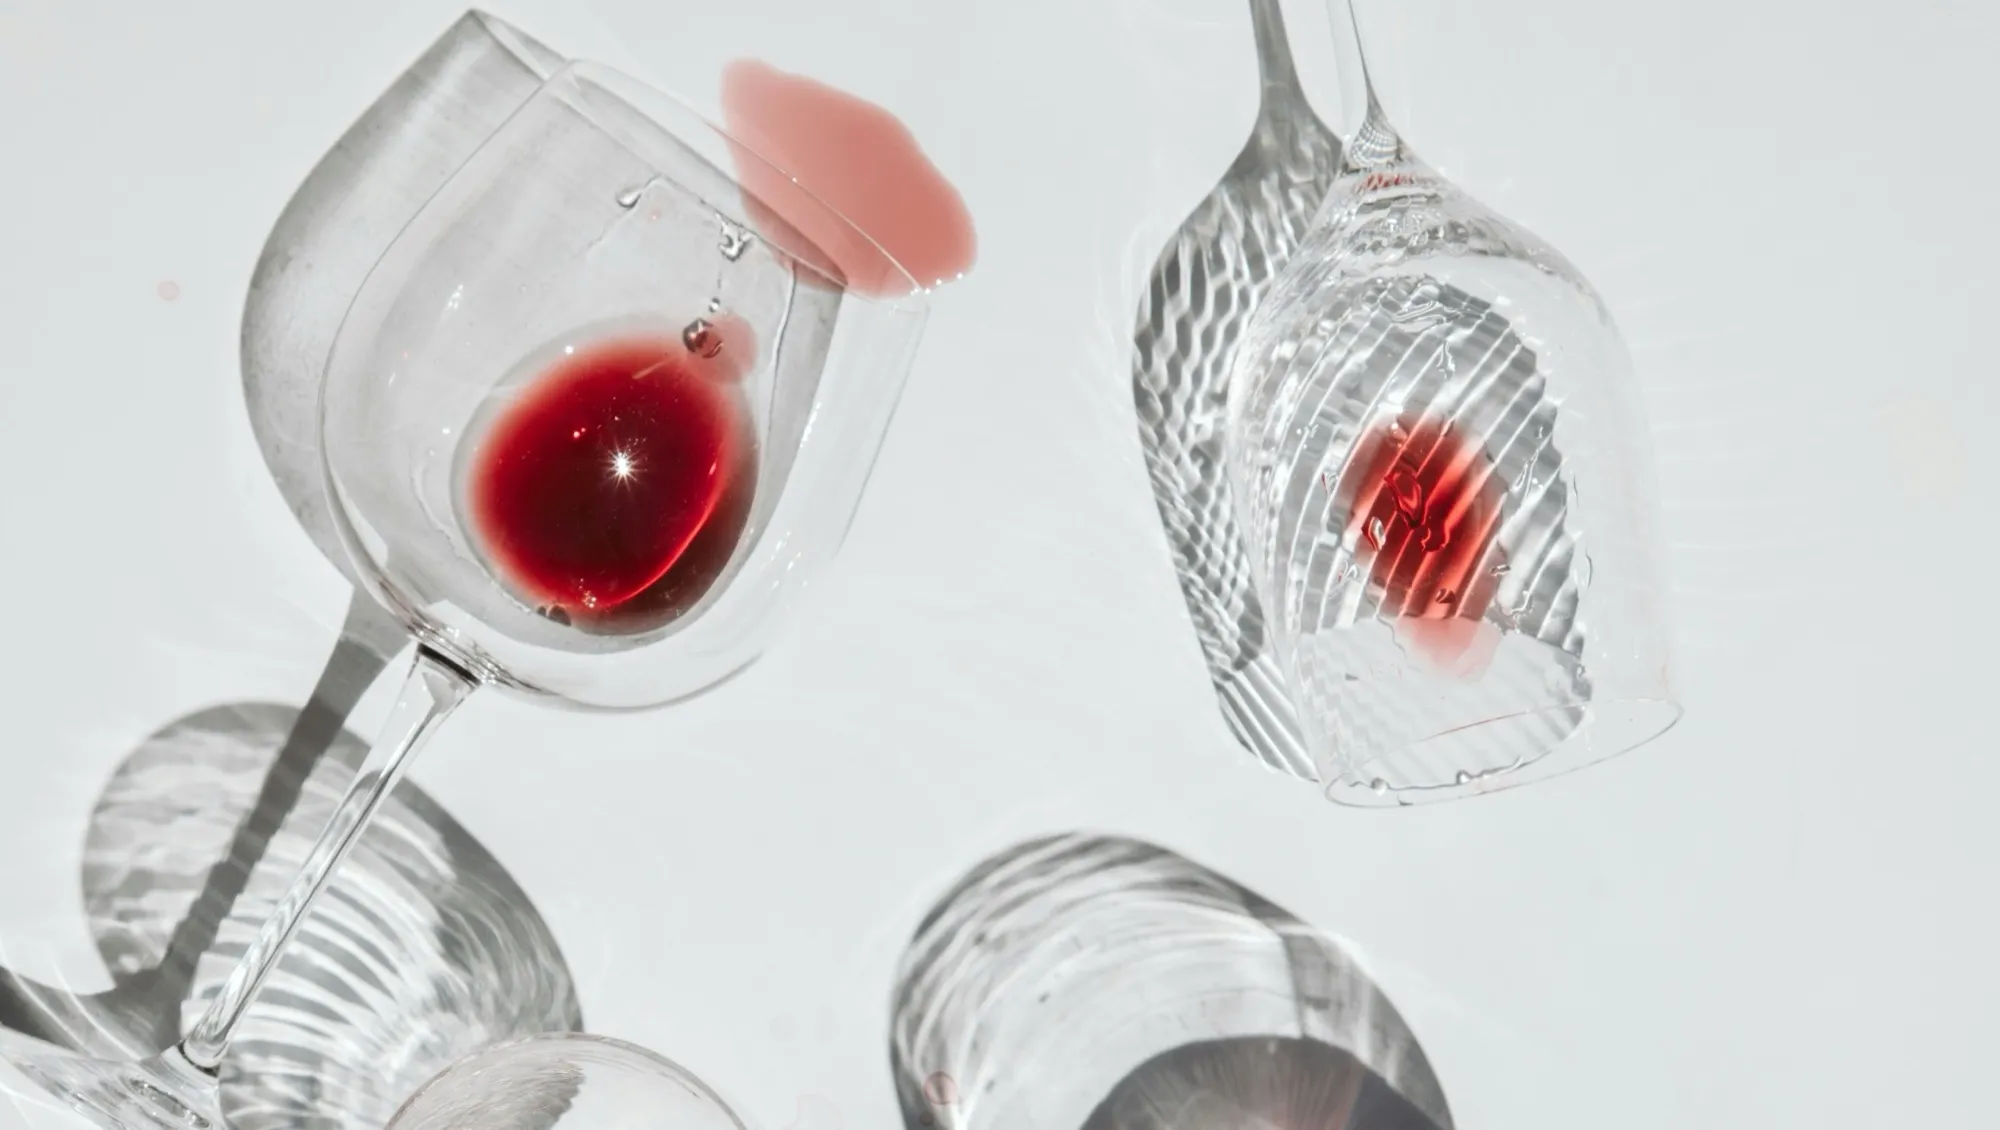
In theory and in books, making your own wine isn’t that complicated. All you need is to find grapes, crush them, press them and then bottle. Yet anyone with a bit of winemaking experience will tell you about at least one time their wine turned to vinegar, turned out undrinkable or nearly did. And that’s when the disappointment hits its peak: so much energy goes into picking, destemming, crushing and pressing your grapes… only to find out you’ll have to wait until next year to try again. So I’ve gathered here seven mistakes that I either managed to avoid or made myself, to help maximize the chances of success of your next artisanal winemaking.
It’s the first tip any winemaker will give you: always clean and sanitize all your equipment. Cleaning aims to remove particles, dust and any visible dirt, as opposed to sanitizing, which eliminates micro-organisms (bacteria, yeasts, etc.), making the equipment sterile. Cleaning can be done with regular dish soap, preferably unscented, whereas sanitizing has to use sulphited water (1 teaspoon per litre of water) or an oxygen-based sanitizer such as One Step.
Why is this so important? Because approximate cleanliness will encourage unwanted micro-organisms to show up in too-large numbers during alcoholic fermentation, such as acetic bacteria, Brettanomyces yeasts or lactic bacteria. Those are responsible for many wine flaws and can easily make a cuvée undrinkable. It’s hard to get rid of them in home winemaking other than with a sulphiting at 50 mg/L: better to try to prevent them at all costs.
When a cuvée turns out well and tasting it with family and friends is a hit, the first reflex is to want to repeat the experience the following year. But for a cuvée to be reproducible, you have to remember how it was made and with what parameters. So I strongly advise writing a “technical sheet” for each cuvée covering:
This “technical sheet” will allow a degree of consistency from one year to the next for the same cuvée. Even better, it will let you experiment by varying one or more parameters in the future (e.g. skin maceration time) to improve your wine!
I use the term “inspect” here because it’s not enough to smell or taste the wine: you have to do both, then take the opportunity to measure the gravity. A hydrometer then becomes essential. It’s especially critical to do this until alcoholic fermentation is finished and the wine has been fully pressed. Here is what a “regular” inspection consists of in artisanal winemaking, which you should note down on a sheet of paper each time:
For regular inspections, the tool of choice is what’s called a “wine thief,” a kind of oversized pipette that makes it easy to draw wine from a carboy. I recommend this plastic model, which I’ve used for several years and which is easy to clean as well as unbreakable.
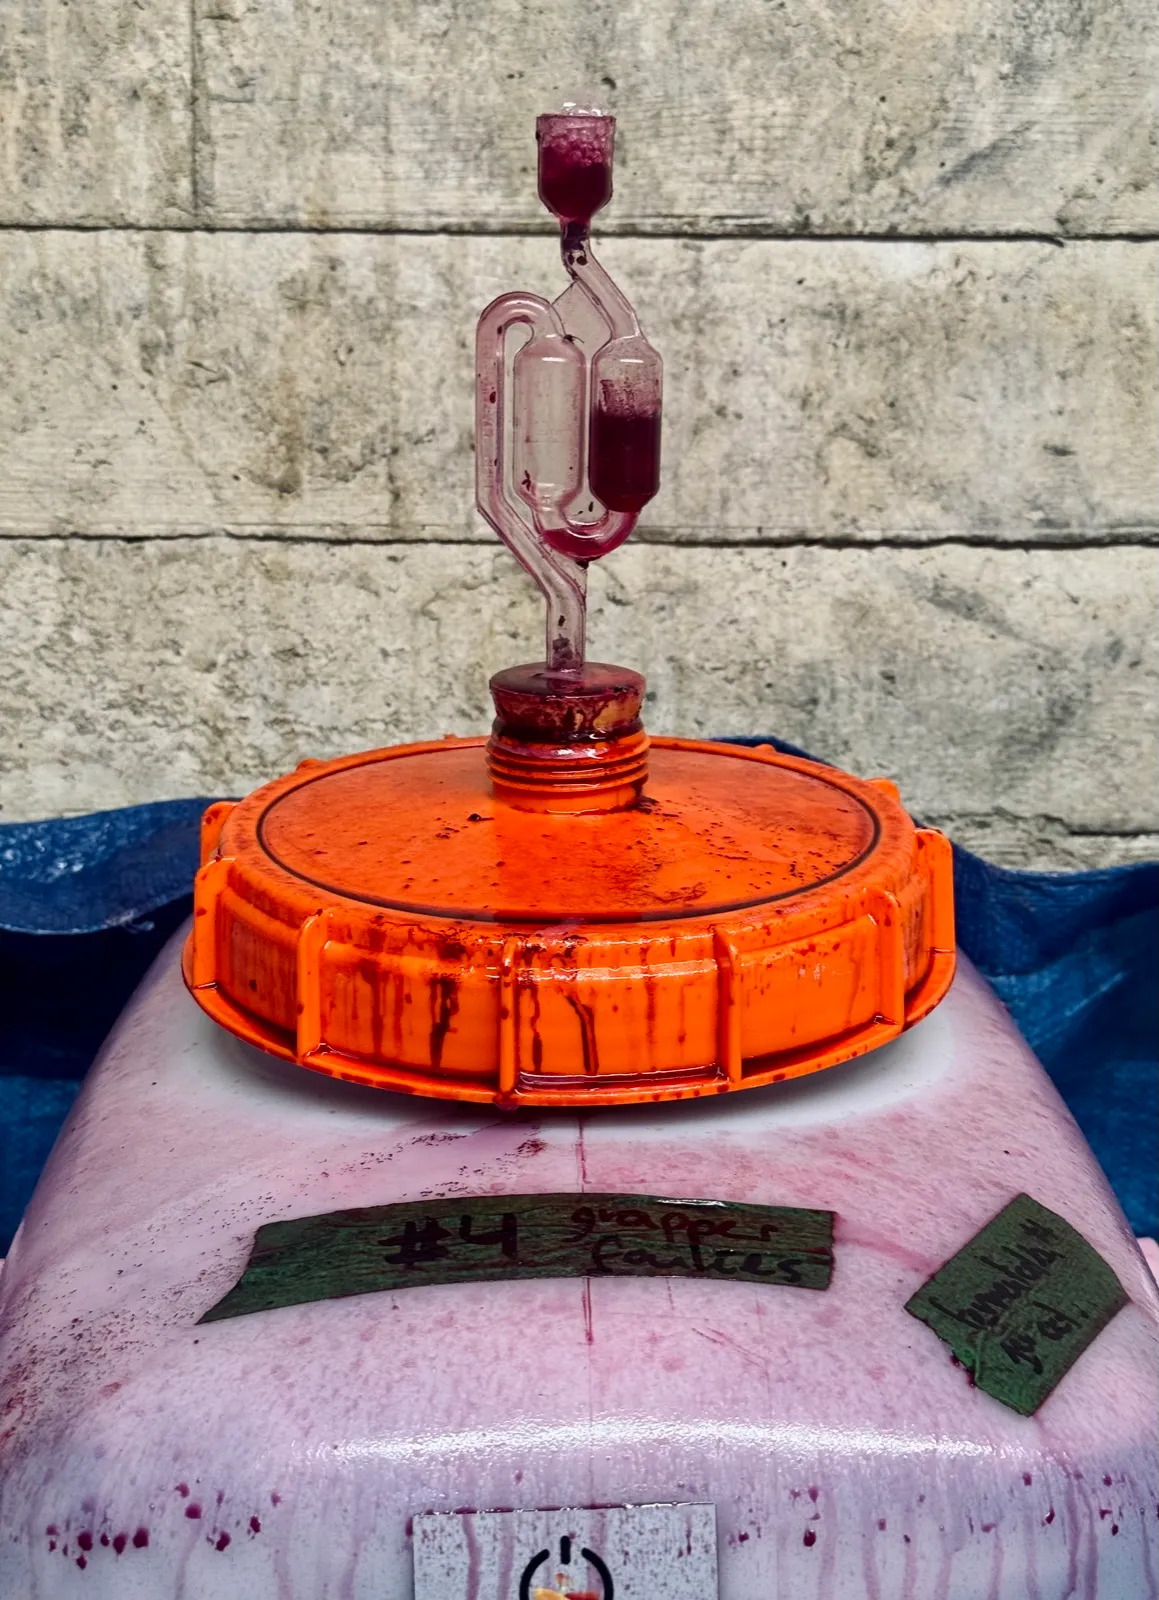
During fermentation, too large a volume of air can make it easier for acetic bacteria to appear. Even though it’s less common than during aging, you should still try not to leave more than 10% air in your vats during alcoholic fermentation. Be careful not to fill them too much, though! The must will expand and overflow from the heat the yeasts give off, as shown in the image below, captured during my 2025 harvest…
What’s more, as soon as alcoholic fermentation is complete, the wine in a carboy is no longer protected from oxygen. This is particularly dangerous during aging since, once again, it will encourage the appearance of acetic bacteria while causing premature phenolic oxidation of the wine. How can you tell if your wine is oxidized? Visually, it will have changed colour: if it’s white, it will have yellowed, and if it’s red, it will have taken on a brick-like hue. By taste, the fruit aromas, now nearly absent, may have been replaced by nutty, sherry or caramel aromas.
Filling your carboys cleverly won’t fully prevent these ills, since wine evaporates naturally during aging. The various inspections will also, over time, bring the volume below what would be considered safe. At that point you have to “top up” your wine, which means adding wine up to a few centimetres from the bung (the rubbery part of an airlock). For a successful topping up, you also need to:
It’s hard to plan exactly the right quantity of containers since the volume of the harvest will vary a lot throughout the winemaking, notably at the steps of:
In every case, a minimum of 25% of the initial volume will be lost and with a very light pressing, it could go as high as 50%. So 100 kg of whole grapes can yield anywhere between 50 L and 75 L of pressed juice. For example, if I only have 3 5 US gallon carboys (19 L each) and 70 L of juice is pressed, that means 13 L will be lost (70 L − 3 × 19 L)! It’s therefore essential to own a few carboys of every size to minimize your losses.
Bottling has to be done at the right time, especially when making a pétillant naturel or a young wine with little aging in the “Beaujolais nouveau” style. Here are the main problems that can come up:
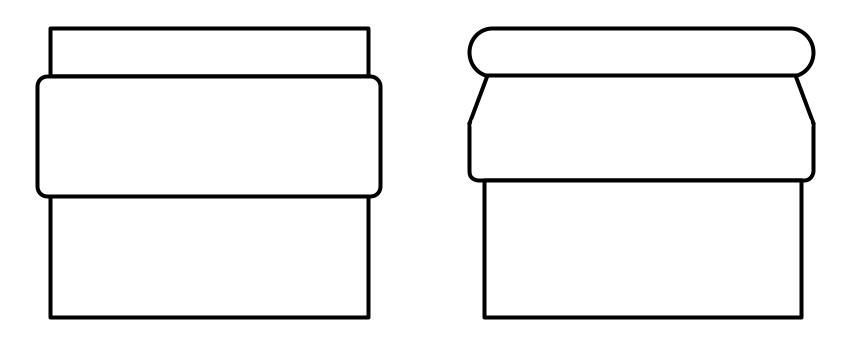
I’ve also consolidated in the table below the 3 families of pressure-bearing bottles. There are a multitude of suppliers today, making it impossible to provide an image representing every variety of a given type. My advice is therefore to weigh them, since the weight, which reflects the thickness of the glass, gives a good idea of its ability to withstand pressure.
| Bottle type | Typical use | Bottle weight (g) | Pressure supported (bar) |
|---|---|---|---|
| Light-sparkling bottle | Perlant wines, “frizzante”-style wines | about 480 | up to 3 |
| Cider bottle (reinforced base) | Pétillants naturels | about 600 | up to 4 |
| Sparkling wine bottle | Crémants, “cava”-style wines and sparkling wines made with the traditional method (e.g. Champagne) | 800 to 900 | up to 8 (for the heaviest models) |
Making wine in a glass or plastic carboy with little (under a year) or no aging (for a pétillant naturel) gives a distinctive and very interesting result while being easy to do in a home winemaking context. By varying the grape varieties, the length of skin contact with the juice, the presence or absence of stems and the intensity of the pressing, the possibilities are almost endless.
What’s less easy and much riskier? Aging your wine in an oak barrel, macerating the skins in the juice for more than 2 weeks, doing the traditional Champagne method, attempting aging under an oxidative veil… All these techniques are hard to master in a home winemaking context without significant experience in a vineyard or the guidance of an expert. What’s more, they carry a high risk of the wine oxidizing or turning to vinegar from the action of acetic bacteria.
By avoiding these mistakes, the worst will be avoided too!

Written by
Samuel
Apprentice winemaker in Montréal. I share what works here, and above all what goes wrong.
Fermentation
Temperature, eliminated yeasts, juice that’s too sweet or too acidic: the causes of a fermentation that stalls, and what to do.
Read more
Sulphiting
When, how much and how to add sulphites, without disrupting malolactic fermentation.
Read more
Equipment
Getting into homemade wine without the right equipment leads straight to frustration.
Read moreLa Liste · follow my journey · in French
The best of my small-batch winemaking, sent in French every once in a while.
I measure the site’s audience with Google Analytics, to see which articles are useful. It sets cookies and sends information about your visit to Google, in the United States, only if you agree. Learn more